> ## Documentation Index
> Fetch the complete documentation index at: https://docs.cdp.coinbase.com/llms.txt
> Use this file to discover all available pages before exploring further.
# Quickstart: User Wallet
export const TypeScriptConfigRequirement = () => {
return <>
TypeScript users: Set moduleResolution: "node16" or "nodenext" in your tsconfig.json (not the legacy "node") to avoid compilation errors with the CDP SDK.
;
};
export const Tags = ({tags, className}) => {
if (!tags || !Array.isArray(tags)) {
return null;
}
return
{tags.map((tag, index) => {tag})}
;
};
## Overview
This guide shows how to add user wallets to your existing React app with just a few lines of code. Users sign in with email, SMS, or social login and get a self-custodial wallet instantly, with no seed phrases required.
Check out the [CDP Web SDK reference](/sdks/cdp-sdks-v2/frontend) for comprehensive method signatures, types, and examples.
**Already have user authentication?** If you're using Auth0, Firebase, AWS Cognito, or another identity provider, check out [Custom Authentication](/wallets/authentication/custom-authentication) to integrate with your existing auth system.
**Choose your path:**
Continue reading to add user wallets to your current React app with a few lines of code.
Build a complete demo app from scratch to learn all the features.
## Prerequisites
* A free [CDP Portal](https://portal.cdp.coinbase.com) account and project
* [Node.js 22+](https://nodejs.org/en/download)
* A node package manager installed (i.e., `npm`, `pnpm`, or `yarn`)
* Basic familiarity with React and TypeScript
* Configured your domain in CDP Portal (see below)
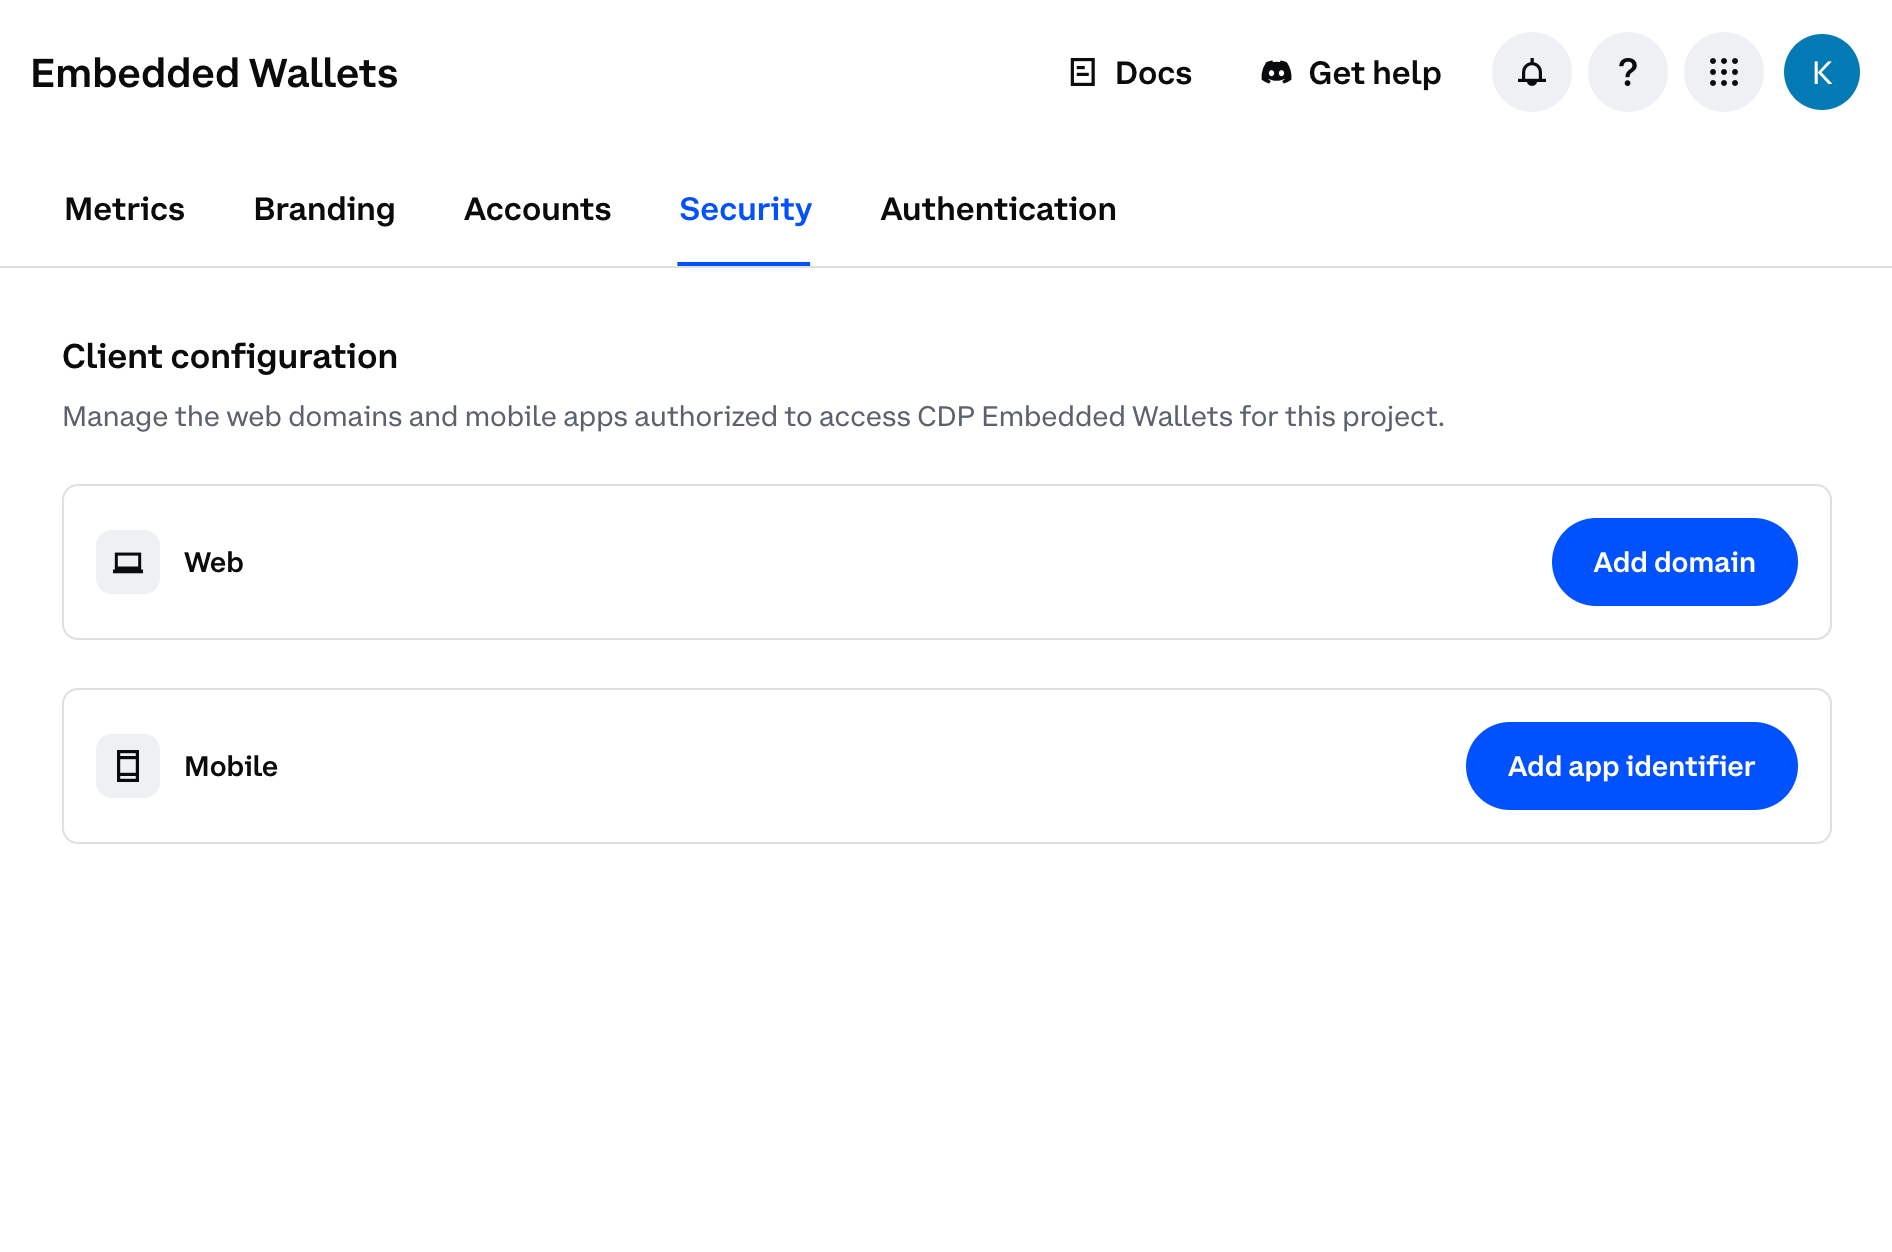
**Step 1: Access CDP Portal**
Navigate to the [Security Configuration](https://portal.cdp.coinbase.com/products/embedded-wallets/security) in CDP Portal, and click **Add domain** to include your local app.
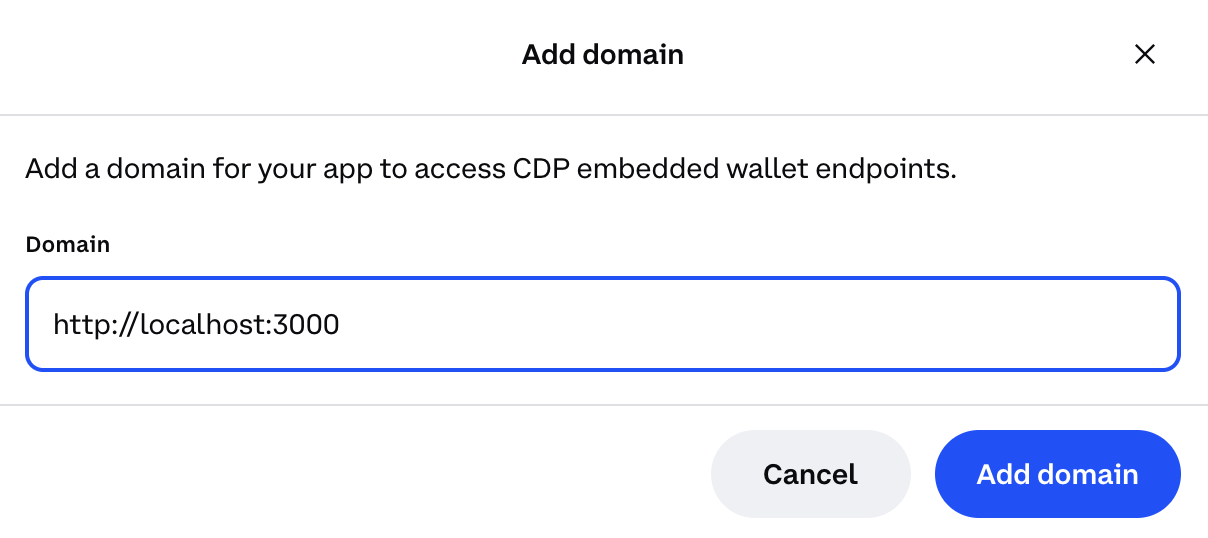
 **Step 2: Add your domain**
* For local development: Use `http://localhost:3000` (or your preferred port)
* For production: Use your actual domain (e.g., `https://yourapp.com`)
**Step 2: Add your domain**
* For local development: Use `http://localhost:3000` (or your preferred port)
* For production: Use your actual domain (e.g., `https://yourapp.com`)
 For production apps, only add your actual production domain. Do not add `localhost` to production CDP projects as malicious apps running locally could impersonate your frontend and abuse your project credentials.
**Step 3: Save your changes**
Click **Add domain** again to save your changes.
For production apps, only add your actual production domain. Do not add `localhost` to production CDP projects as malicious apps running locally could impersonate your frontend and abuse your project credentials.
**Step 3: Save your changes**
Click **Add domain** again to save your changes.
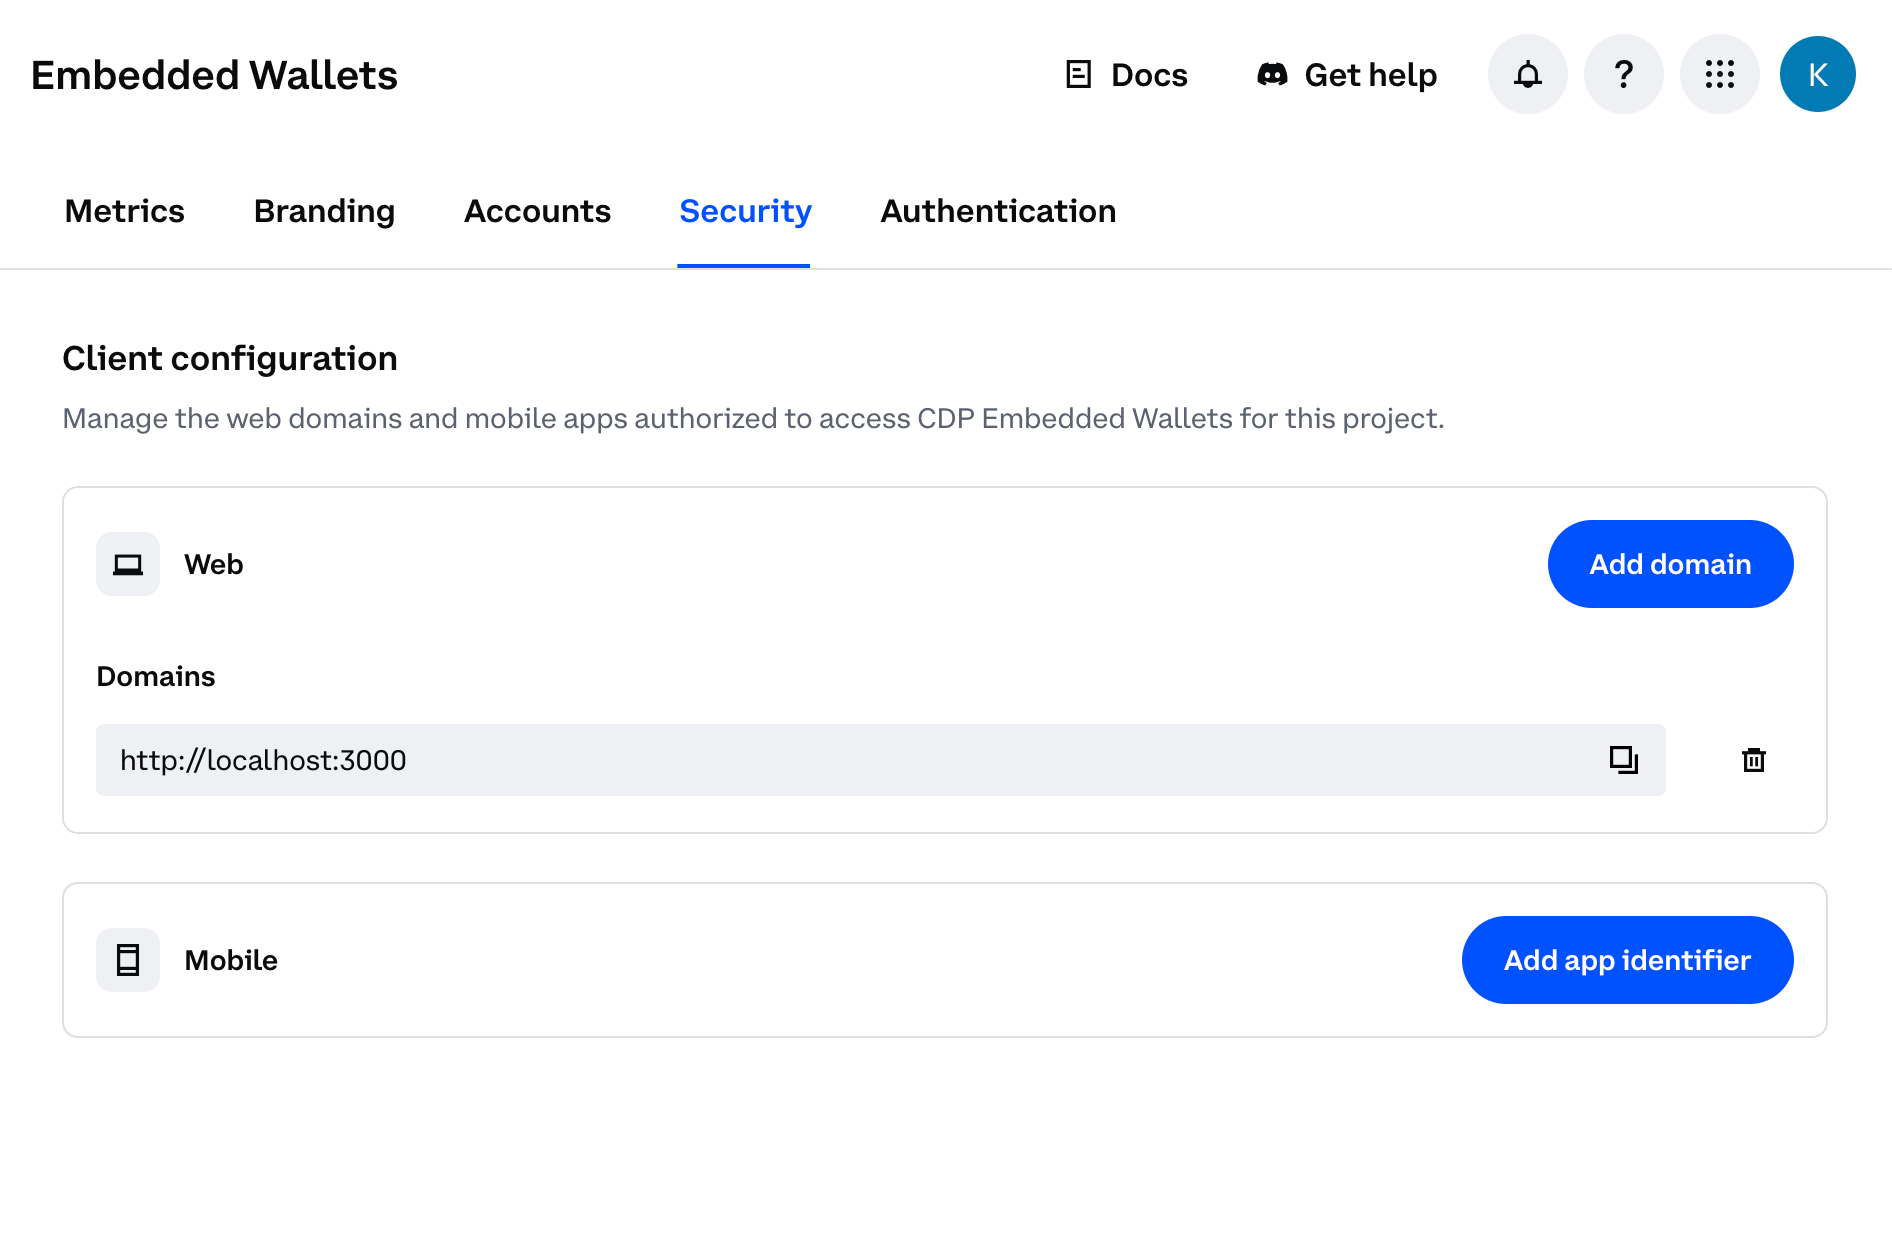 You should see your domain listed in the CDP Portal dashboard. The allowlist will take effect immediately upon saving.
## 1. Install packages
Once you've completed the prerequisites above, install the required packages:
```bash npm theme={null}
npm install @coinbase/cdp-react @coinbase/cdp-core @coinbase/cdp-hooks
```
```bash pnpm theme={null}
pnpm add @coinbase/cdp-react @coinbase/cdp-core @coinbase/cdp-hooks
```
```bash yarn theme={null}
yarn add @coinbase/cdp-react @coinbase/cdp-core @coinbase/cdp-hooks
```
## 2. Wrap your app with the provider
Add the CDP provider to your root component (typically `App.tsx` or `main.tsx`). Replace `"your-project-id"` with your actual project ID from [CDP Portal](https://portal.cdp.coinbase.com).
```tsx theme={null}
import { CDPReactProvider } from "@coinbase/cdp-react";
function App() {
return (
);
}
```
## 3. Add authentication
### Option A: Use the AuthButton (recommended)
The simplest approach is the `AuthButton` component, which handles the entire authentication flow:
```tsx theme={null}
import { AuthButton } from "@coinbase/cdp-react/components/AuthButton";
import { useIsSignedIn } from "@coinbase/cdp-hooks";
function AuthComponent() {
const { isSignedIn } = useIsSignedIn();
return (
You should see your domain listed in the CDP Portal dashboard. The allowlist will take effect immediately upon saving.
## 1. Install packages
Once you've completed the prerequisites above, install the required packages:
```bash npm theme={null}
npm install @coinbase/cdp-react @coinbase/cdp-core @coinbase/cdp-hooks
```
```bash pnpm theme={null}
pnpm add @coinbase/cdp-react @coinbase/cdp-core @coinbase/cdp-hooks
```
```bash yarn theme={null}
yarn add @coinbase/cdp-react @coinbase/cdp-core @coinbase/cdp-hooks
```
## 2. Wrap your app with the provider
Add the CDP provider to your root component (typically `App.tsx` or `main.tsx`). Replace `"your-project-id"` with your actual project ID from [CDP Portal](https://portal.cdp.coinbase.com).
```tsx theme={null}
import { CDPReactProvider } from "@coinbase/cdp-react";
function App() {
return (
);
}
```
## 3. Add authentication
### Option A: Use the AuthButton (recommended)
The simplest approach is the `AuthButton` component, which handles the entire authentication flow:
```tsx theme={null}
import { AuthButton } from "@coinbase/cdp-react/components/AuthButton";
import { useIsSignedIn } from "@coinbase/cdp-hooks";
function AuthComponent() {
const { isSignedIn } = useIsSignedIn();
return (
{isSignedIn ? (
Welcome! You're signed in.
) : (
)}
Welcome! You're signed in.
;
return (
);
}
```
## 4. Send transactions
### EVM
Once authenticated, users automatically get a wallet address. Here's how to send EVM transactions:
```tsx theme={null}
import { useEvmAddress } from "@coinbase/cdp-hooks";
import { SendEvmTransactionButton } from "@coinbase/cdp-react";
function SendTransaction() {
const { evmAddress } = useEvmAddress();
return (
{evmAddress ? (
console.log("Transaction sent:", hash)}
onError={(error) => console.error("Transaction failed:", error)}
pendingLabel="Sending..."
/>
) : (
Wallet not ready yet...
)}
{solanaAddress ? (
) : (
Wallet not ready yet...
)}