

Overview
Use React Native to build mobile apps with Coinbase Developer Platform (CDP) embedded wallets in under 5 minutes! Your React Native apps can leverage EVM Externally Owned Accounts (EOA), EVM Smart Accounts, and Solana Accounts, bringing different blockchain compatibility directly to iOS and Android users. Get up and running fast by integrating our wallet infrastructure into your React Native project withcreate-cdp-app.
What makes React Native embedded wallets special?
What makes React Native embedded wallets special?
React Native embedded wallets bring the same powerful CDP wallet infrastructure to mobile apps with:
- Native mobile performance: Optimized for iOS and Android
- Familiar mobile UX: Email and social login flows users expect
- Cross-platform support: Write once, run on iOS and Android
- Expo compatibility: Works seamlessly with managed and bare Expo workflows
Prerequisites
- A free CDP Portal account.
- Node.js 22+.
- A node package manager installed (i.e.,
npmorpnpm). - Installed iOS Simulator.
- Installed Android Emulator.
Minimum Version Requirements
| Xcode | 16.1 |
| iOS | 15.1 |
| Android Studio | Latest stable |
| Android SDK | API 24 (min) / API 35 (target) |
| Android | 7.0 (API 24) |
1. Create the React Native app
Copy your Project ID
Navigate to CDP Portal and select your project from the top-left dropdown. Clicking the gear icon will take you to your project details: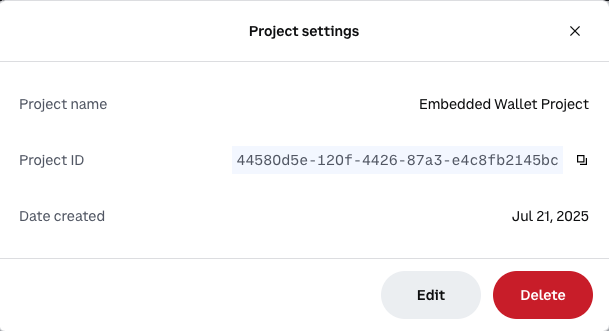
Create a new React Native app
Use the latest version of
create-cdp-app to create a new React Native app:Configure your app
Follow the prompts to configure your app with an embedded wallet. Name your project, select
React Native with Expo as a template, and enter your CDP Project ID that you copied in the previous step.This example uses EVM Smart accounts, but we also support EVM EOA accounts and Solana accounts for React Native.
Configure deep linking for OAuth (Optional)
If you plan to use social login with React Native (Google, Apple, etc.), you need to configure deep linking:
- Navigate to the Security Configuration in CDP Portal
- Add
cdp-rn-demo://callbackto your allowed domains
The demo app is pre-configured with the deep link scheme
cdp-rn-demo://callback. This is required for OAuth/social login to redirect users back to your app after authentication.Email and SMS authentication work without this step. Deep links are only required for OAuth/social login in React Native (OAuth works out-of-the-box on web with standard HTTPS redirects).For your production app, replace cdp-rn-demo with your own custom scheme (configured in your app.json). See our Implementation Guide for details.2. Sign in and send your first transaction
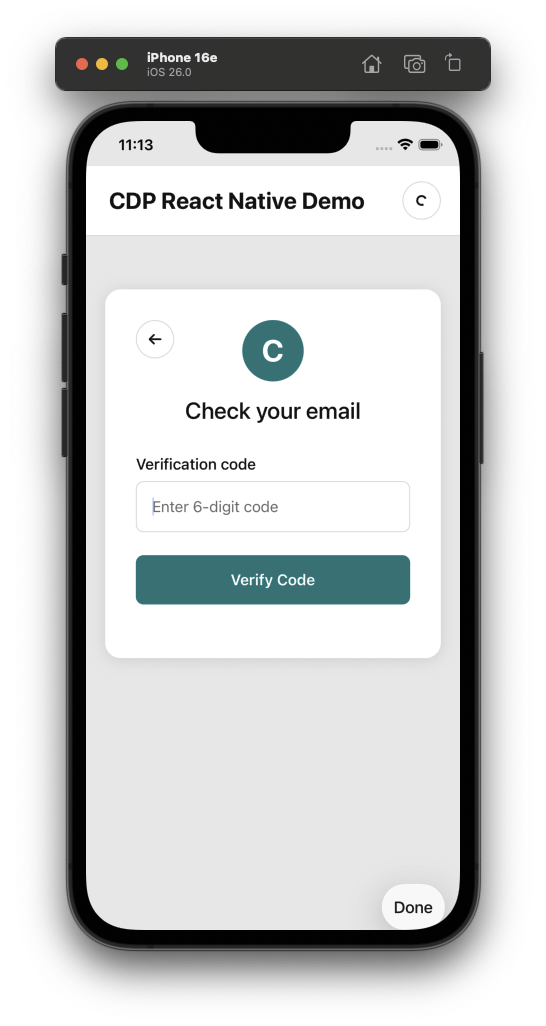
Now that your embedded wallet is configured and your app is running, let’s try it out.Authenticate with email, SMS, or Social
Choose between email or SMS to receive a verification code. Social login will complete after you authenticate with your Provider.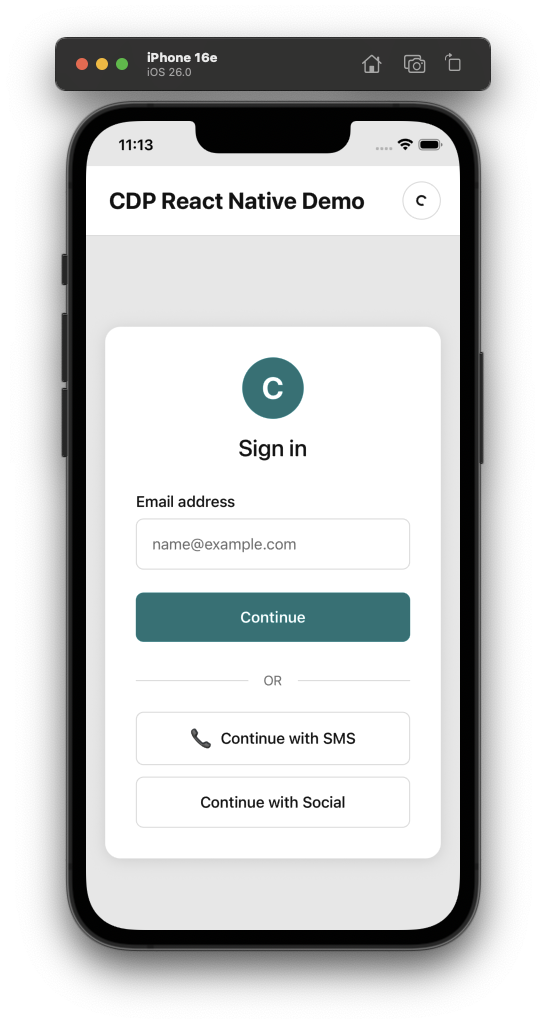
View your new wallet
Congrats! Your new embedded wallet has been created, authenticated, and is ready to use on all EVM compatible networks.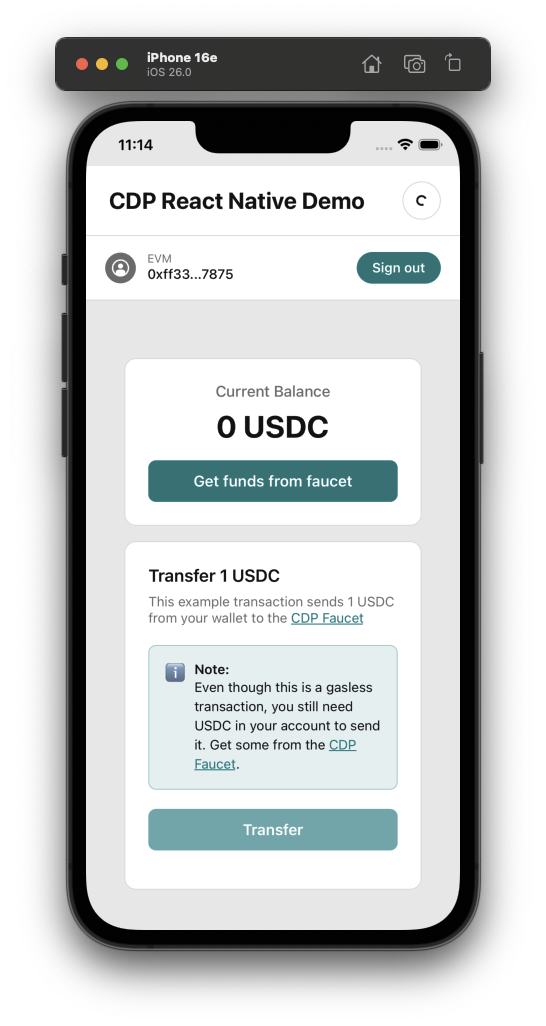
Send your first transaction
The demo app uses the wallet to send itself some testnet tokens on Base Sepolia.Get some testnet funds by tapping the Get funds from faucet button which will give you a link to the CDP Portal Faucet prefilled with your wallet address and token.
Once you claim the funds, the balance shown in the app will update automatically. Finally, tap Transfer to initiate the transfer. Once complete, you’ll see a transaction hash and a button to copy a link to the blockchain explorer.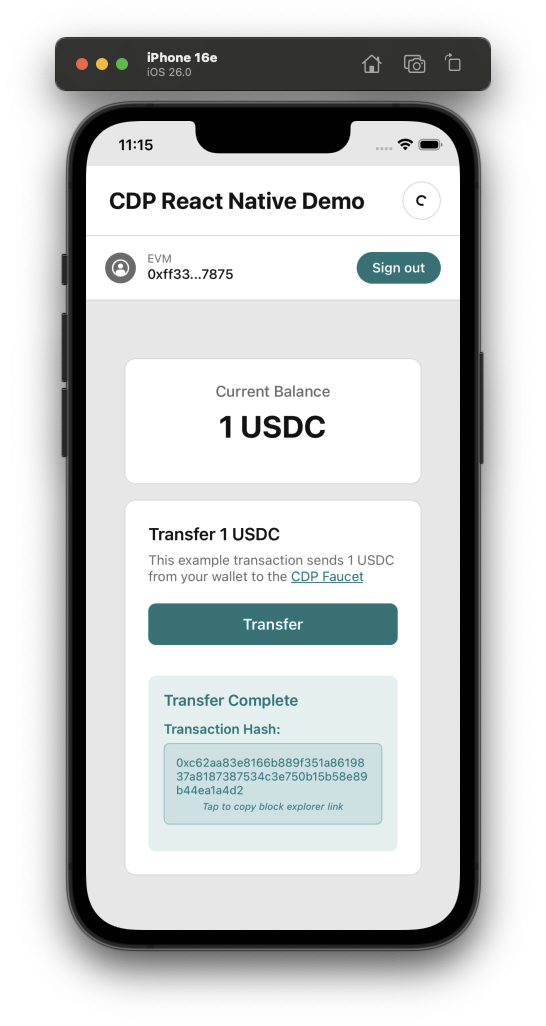
What to read next
- React Hooks: Explore all available CDP hooks
- Authentication Methods: Learn about available user authentication methods
- Smart Accounts: Learn about Smart Accounts and how to use them