

1. Connect Ledger Device to SolFlare
- Plug in your Ledger, unlock it, and navigate to the Solana app within the Ledger manager.
- Navigate to solflare.com and select Create a Wallet.
- Select Next several times and then Get Started to navigate through the tutorial.
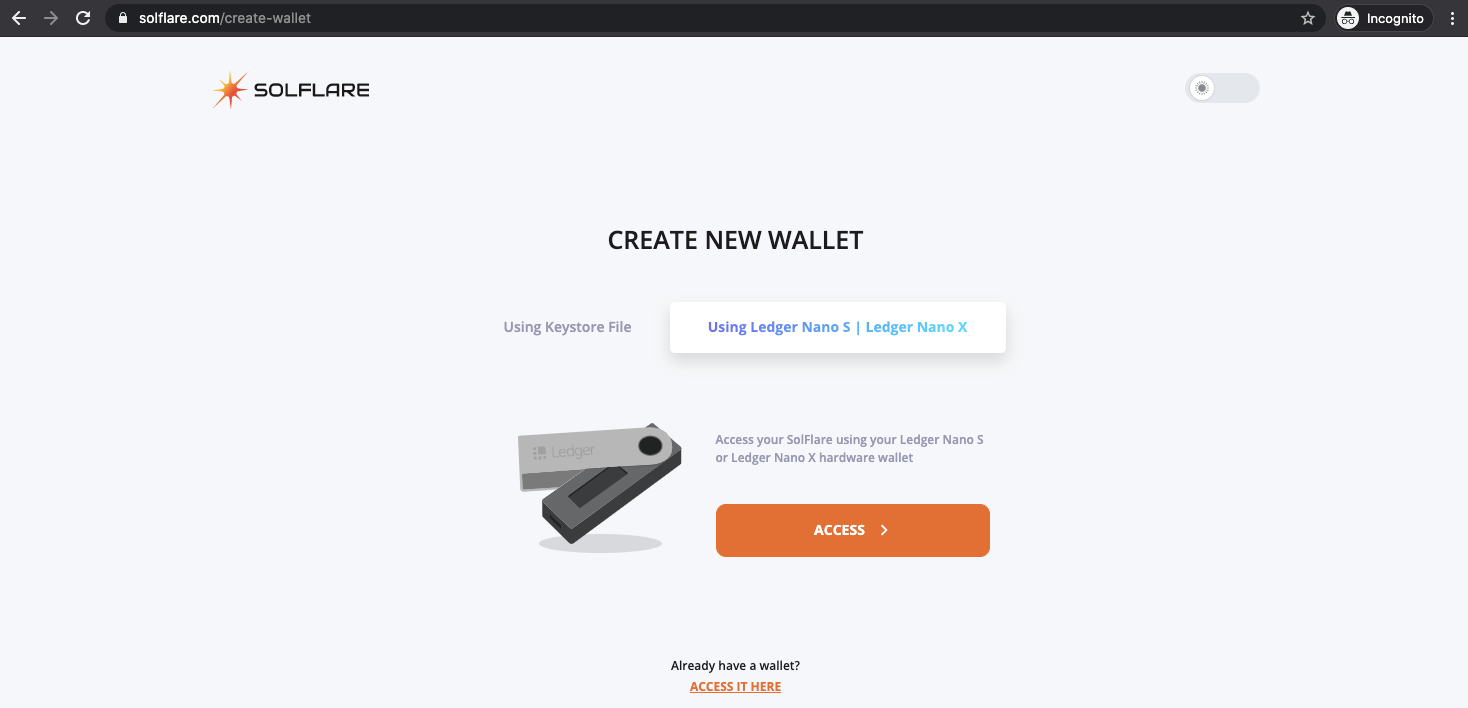
- Select Using Ledger Nano S or X and click Access.
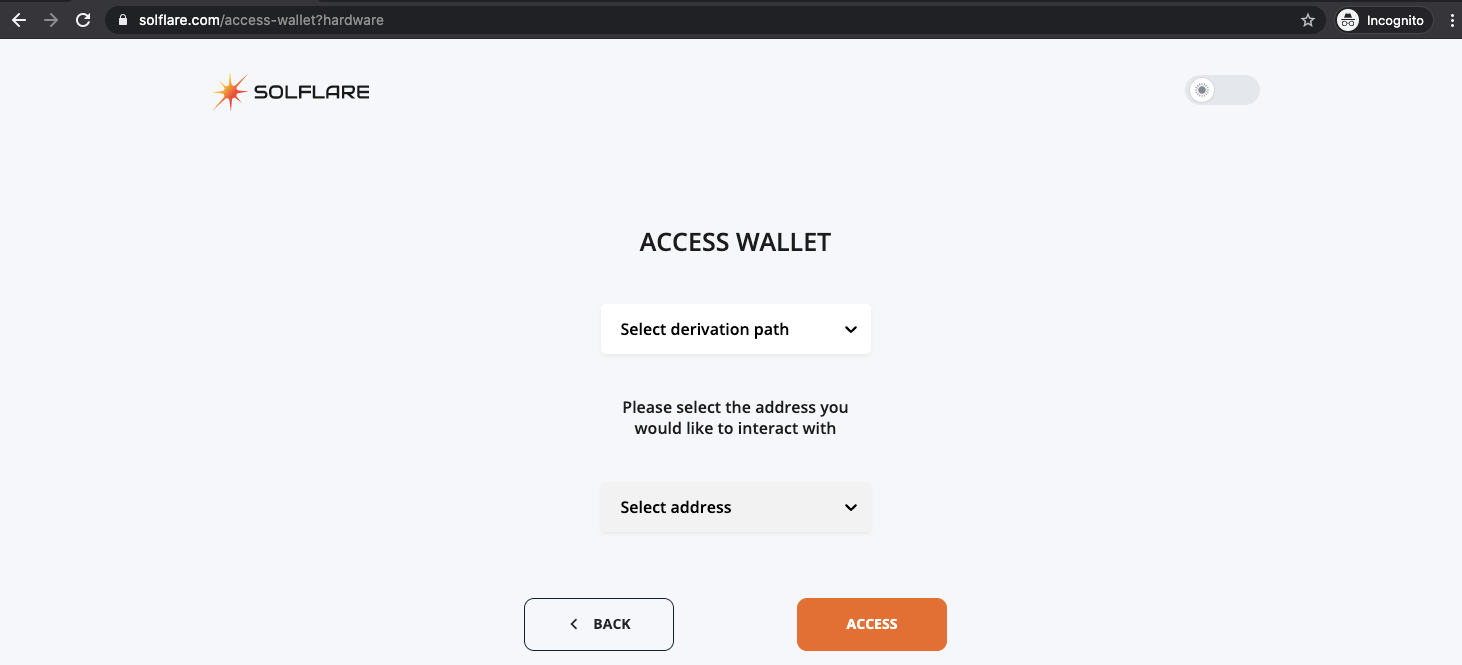
- Click the Select derivation path dropdown and select the first option, Solana - 44’/501’/.
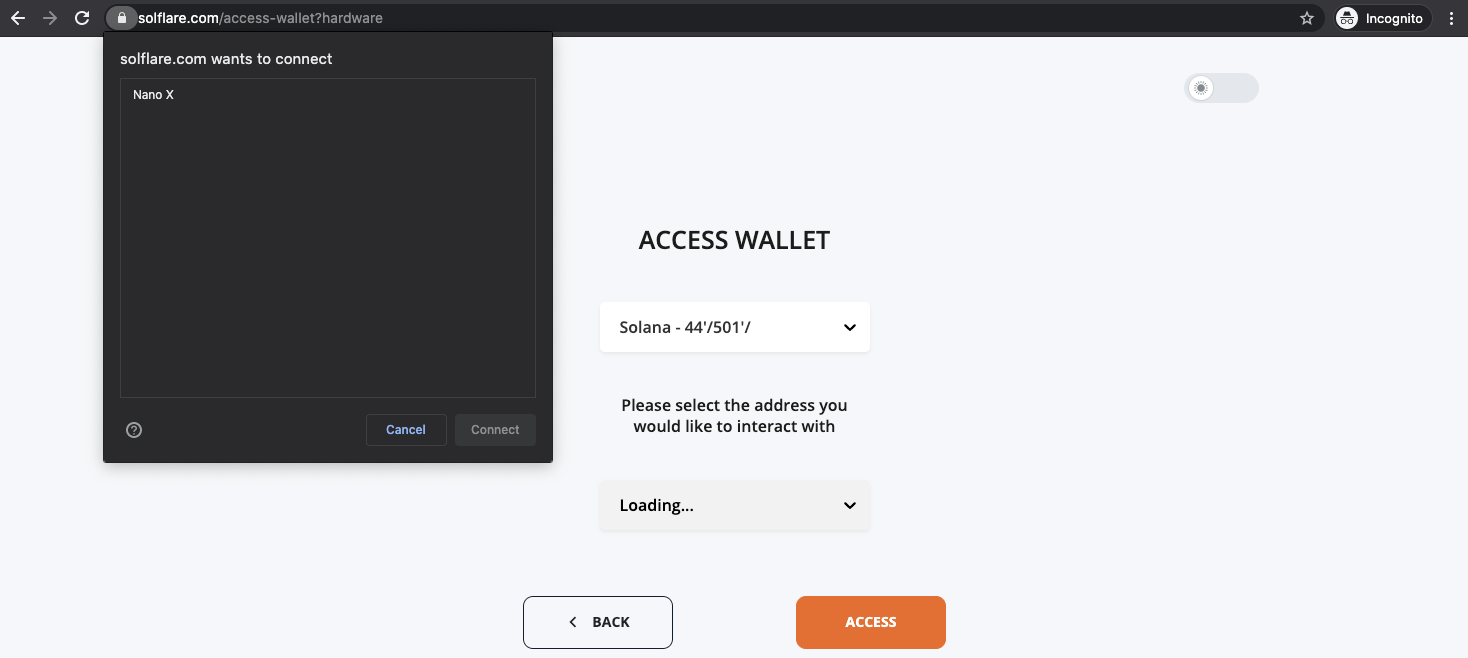
- Select your Ledger device from the pop-up screen. If the UI gives you any errors, ensure your Ledger is unlocked and has the Solana app open.

2. Fund SolFlare Wallet
- Select your Root Account from the drop-down list of accounts and click Access.
- Review the transaction prompt on your Ledger. It should show your pubkey (public address) on the screen. Confirm your address is correct.
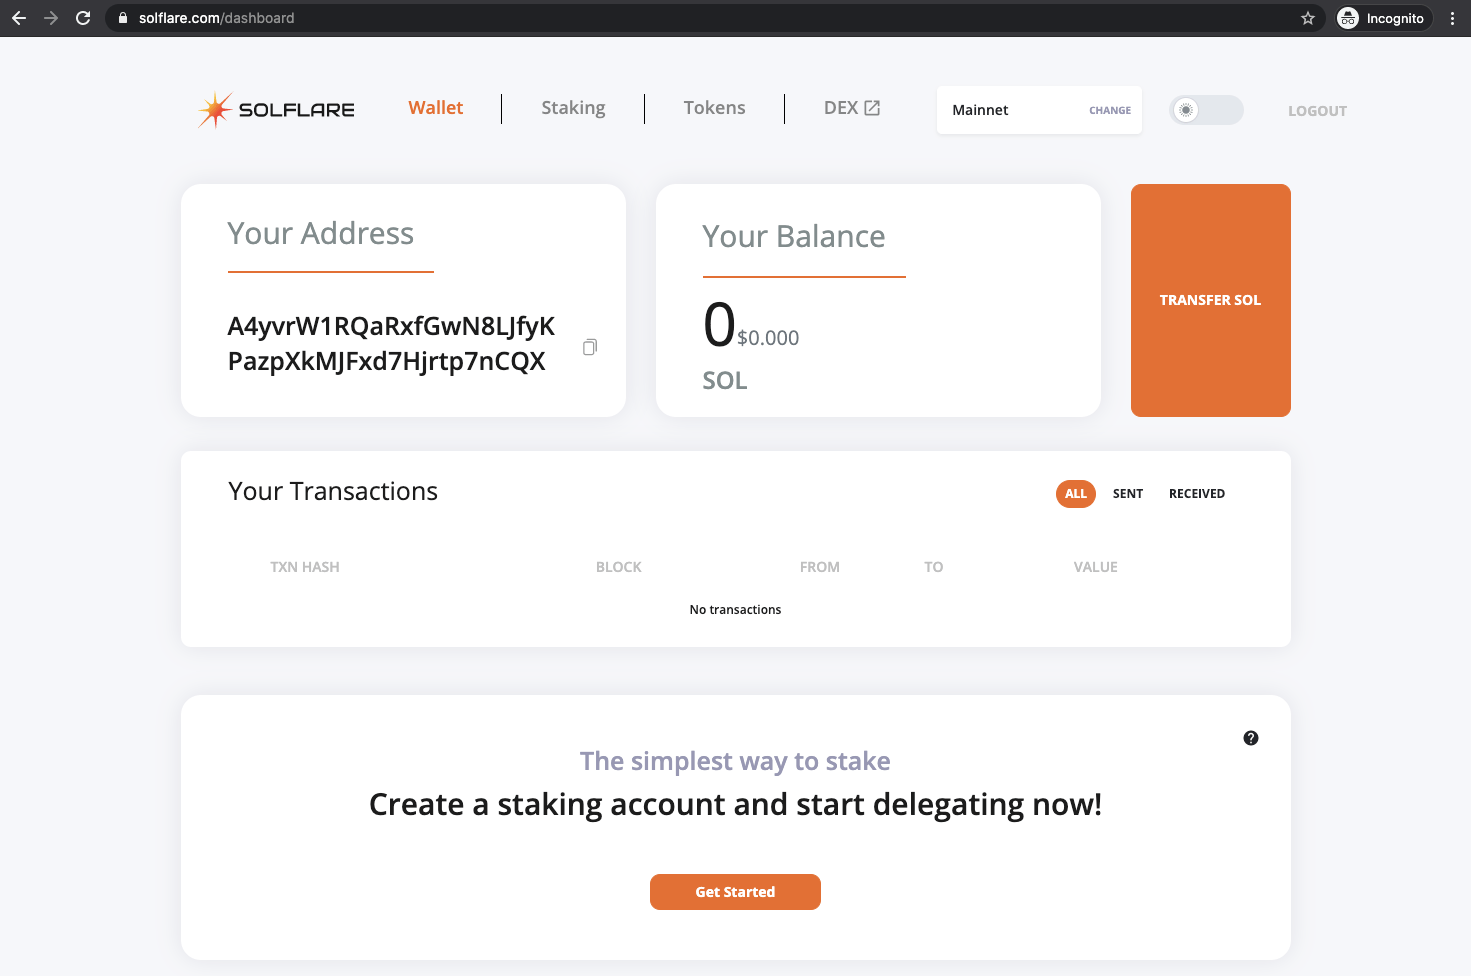
- Copy the address that shows under Your Address.
- Visit the exchange or wallet where your SOL was purchased/stored, and send your SOL from where it was purchased to the wallet address copied above.
- After waiting the network processing time, your SOL balance should show at the top of the SolFlare wallet extension when opened.