

Overview
User wallets provide components that work with Coinbase’s Cross-Platform Onramp API to enable developers to move money from fiat to onchain economies. A user can fund their wallet with their Coinbase account. This guide shows how to get started with theFundModal component.
Coinbase Onramp is enabled by default in trial mode for every CDP project. In trial mode, there are limitations to how much you can purchase.
The
Fund and FundModal components will cost real money unless you enable mock buys and sends.Quickstart
Get started in under 5 minutes with CDP’screate-cdp-app package!
Prerequisites
- A free CDP Portal account and project
- Node.js 22+
- A node package manager installed (i.e.,
npm,pnpm, oryarn) - Basic familiarity with Next.js and React
- A Coinbase Retail account, if you wish to fund your wallet with Coinbase
1. Add your domain
To begin, add your domain to the list of allowed domains in CDP Portal.1
Access CDP Portal
Navigate to the Security Configuration in CDP Portal, and click Add domain to include your local app.
2
Add your domain
Use
http://localhost:3000 (the port your demo app will run locally).3
Save your changes
Click Add domain again to save your changes.You should see your local app URL listed in the CDP Portal dashboard. The allowlist will take effect immediately upon saving.
2. Create the demo app
1
Create a Secret API Key
Navigate to the API Keys tab of the CDP Portal. Create your API key by entering an API key nickname (restrictions are optional).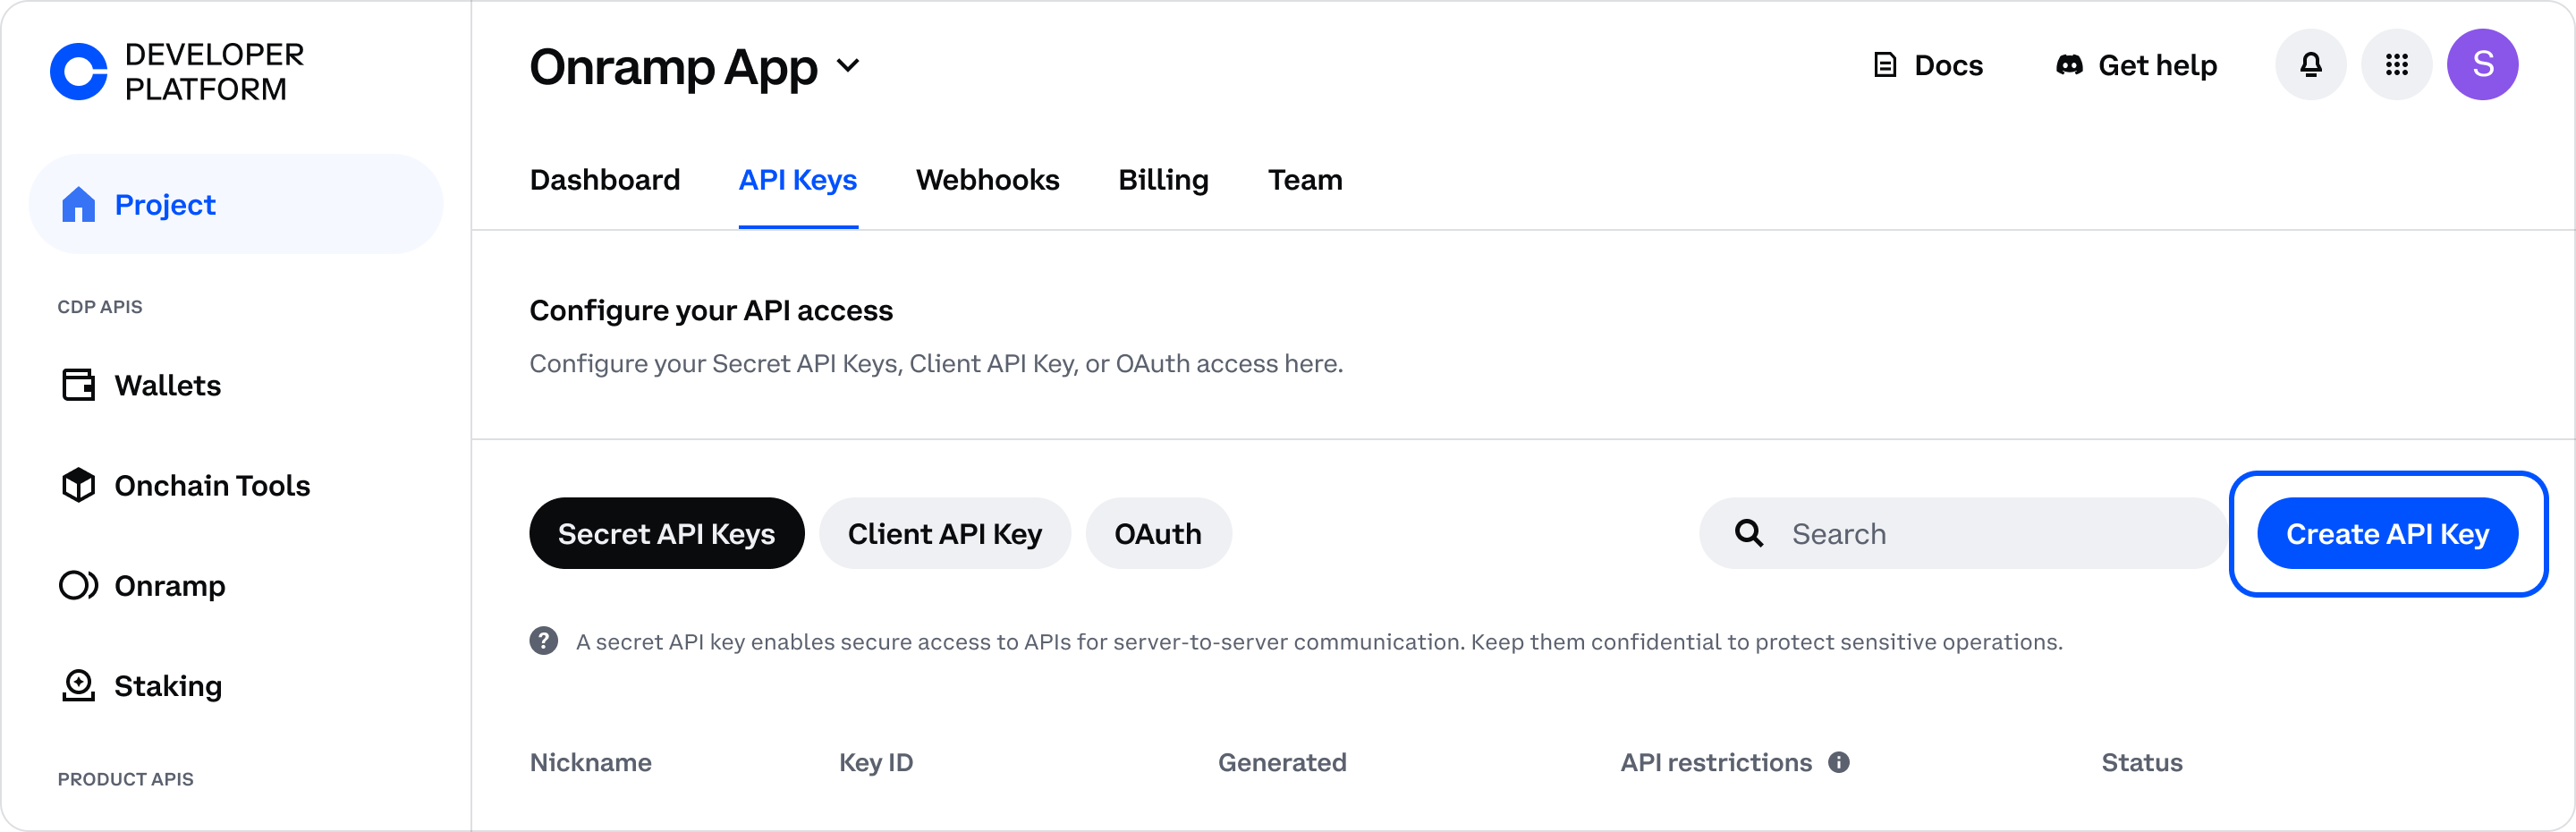
Optional API Key File DownloadFor enhanced security, API key files are no longer automatically downloaded. If you need to reference your API key via file path in your code, click the Download API key button in the modal to save the key file. Otherwise, you can copy the key details directly from the modal and use them as environment variables (recommended for better security).
2
Copy your Project ID
Navigate to CDP Portal and select your project from the top-left dropdown. Clicking the gear icon will take you to your project details:Copy the Project ID value. You will use this in the next step when configuring your demo app.
3
Create a new demo app
Use the latest version of
create-cdp-app to create a new demo app using your package manager:4
Configure your app
Follow the prompts to configure your app. Name your project, select the Next.js Full Stack App template, and paste your project ID from CDP Portal.You can choose between EVM EOA (Regular Accounts), EVM Smart Accounts, or Solana Accounts, and you should enable Onramp.
For this demo app, we will choose EVM EOA (Regular Accounts).To complete configuration, enter the API Key ID and API Key Secret key pair you created in the previous step and confirm that you have added your domain.
5
Run your app
Navigate to your project and start the development server:Your app will be available at http://localhost:3000.
3. Demo your new wallet
Now that your user wallet is configured and your app is running, let’s try it out.1
Sign in
Head to http://localhost:3000 and click the Sign In button.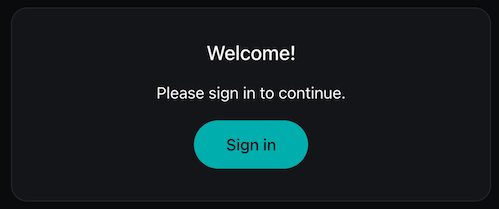
2
Enter your email
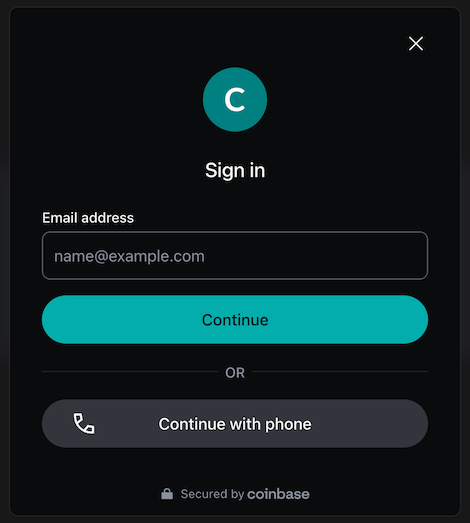
3
Verify
Enter the verification code sent to your e-mail.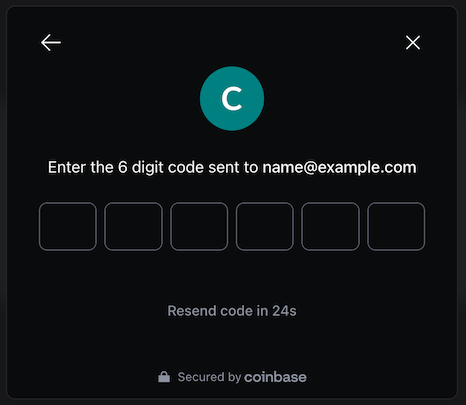
4
View your new wallet
Congrats! Your new user wallet has been created, authenticated, and is ready to use on the Base network.
From the demo app, you can copy-and-paste your wallet address from the top-right corner. You can also fund your wallet and monitor your balance. You should see similar to the following: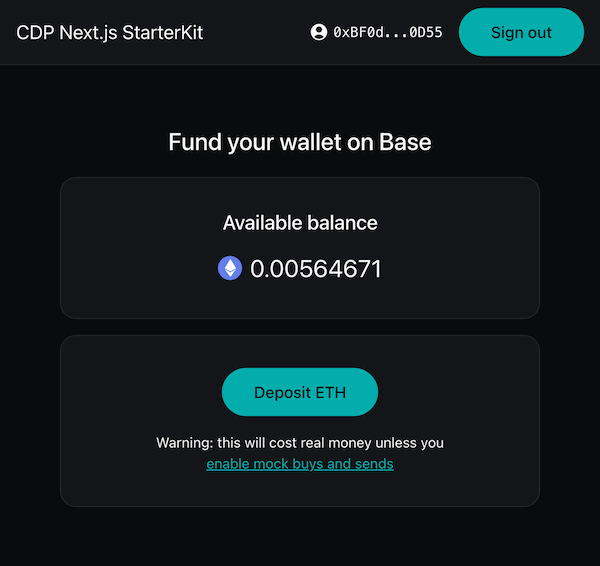
What is Base?
What is Base?
Base is a fast, low-cost blockchain built by Coinbase.
5
Enter deposit details
This opens the funding modal where you can specify how much you want to deposit. Choose a preset amount or enter your own, select your preferred payment method, and click Deposit to proceed to the Coinbase Onramp widget.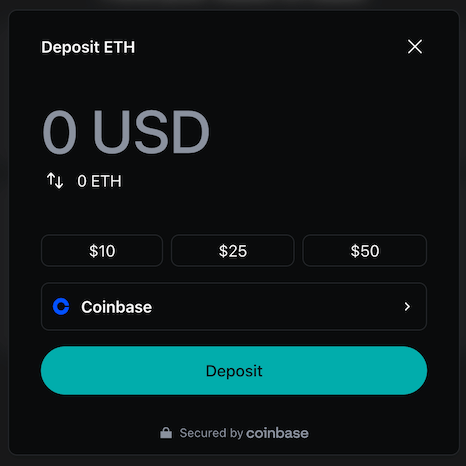
6
Complete your purchase
The Coinbase Onramp widget opens for you to review the transaction details. Here, you can verify the payment method, destination address, and total cost before finalizing the purchase.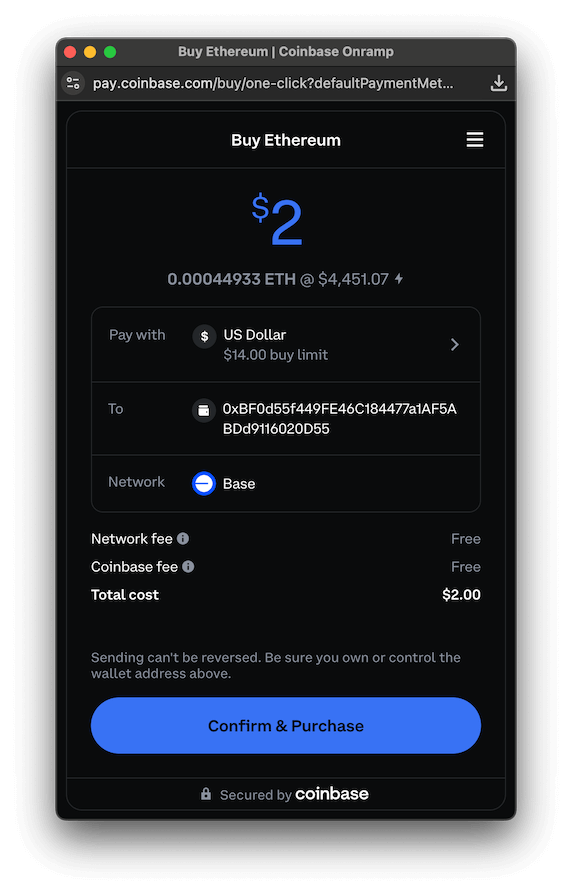
7
View your confirmation
Once the transaction is successful, you’ll see a confirmation message. The funds are now being sent to your wallet onchain, and your balance will update shortly.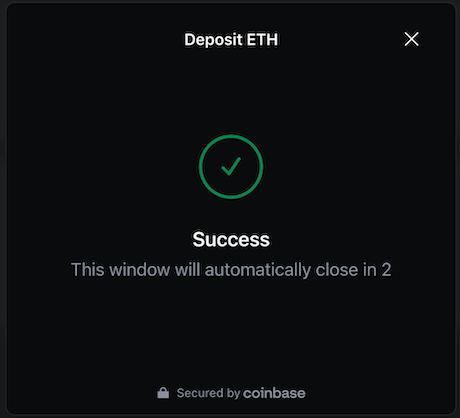
https://basescan.org/address/YOUR-WALLET-ADDRESS.What is a transaction?
What is a transaction?
A blockchain transaction transfers cryptocurrency between wallets. Unlike bank transfers, they’re:
- Public: Visible on the blockchain
- Permanent: Cannot be reversed
- Fast: Usually complete in seconds
- Fee-based: Require “gas” fees to process
Manual setup
If you’d prefer to set integrate Onramp manually, this guide will show you how to do so.Prerequisites
- A free CDP Portal account and project
- Node.js 22+
- A node package manager installed (i.e.,
npm,pnpm, oryarn) - Basic familiarity with Next.js and React
- A CDP project with user wallets enabled
@coinbase/cdp-coreand@coinbase/cdp-hooksinstalled- A Coinbase Retail account, if you wish to fund your wallet with Coinbase
1. Create a Secret API Key
1
Create key
Optional API Key File DownloadFor enhanced security, API key files are no longer automatically downloaded. If you need to reference your API key via file path in your code, click the Download API key button in the modal to save the key file. Otherwise, you can copy the key details directly from the modal and use them as environment variables (recommended for better security).
2
Update .env
Update your app’s
.env file with the API Key ID and API Key Secret.2. Install @coinbase/cdp-sdk
The Onramp API requires authentication with a JWT. You can use @coinbase/cdp-sdk to generate one.
3. Create lib/cdp-auth.ts
Create a new file lib/cdp-auth.ts in your project root. This file exports helper functions to generate JWTs for authorizing Onramp API calls and provides the base URL for API requests.
lib/cdp-auth.ts
getCDPCredentials(): Reads your API credentials from environment variablesgenerateCDPJWT(): Creates authenticated JWT tokens for API callsONRAMP_API_BASE_URL: The base URL for all Onramp API requests
4. Set up server-side endpoints
You will need to create two server-side endpoints to interact with the Onramp API.1
Transform response data helper
The
FundModal component expects functions that return data in camel-case, so for now the data from the Onramp API needs to be transformed.The v1 version of the Onramp API returns data with snake case keys. In v2, data will be returned with camel case keys.
lib/to-camel-case.ts
2
Get buy options
The Buy Options API provides the available payment methods to the
FundModal and Fund components.app/api/onramp/buy-options/route.ts
3
Create buy quote
The Buy Quote API provides the exchange rate as well as the purchase URL to the
Fund and FundModal components.app/api/onramp/buy-quote/route.ts
5. FundModal component
Finally, you are ready to add the FundModal component to your app.
1
Create fetchBuyOptions and fetchBuyQuote
The
FundModal component requires fetchBuyOptions and fetchBuyQuote props, which are functions that handle calling the Onramp API via your new server-side endpoints.lib/onramp-api.ts
2
Render FundModal
components/FundWallet.tsx
Funding a Solana wallet with FundModal
Funding a Solana wallet with FundModal
You may fund your Solana user wallets using the same FundModal as in the EVM example above.
Just pass in the appropriate values for the
cryptoCurrency, network, and destinationAddress props.components/FundSolanaWallet.tsx
Reference
What to read next
- React Components: Explore all available user wallet React components, including authentication, wallet management, and transaction components to build complete wallet experiences
- Onramp Overview: Learn about the complete Onramp API ecosystem, including advanced features like offramp, webhooks, and transaction monitoring for comprehensive fiat-to-crypto solutions