

Prerequisites
- Node.js and npm installed
- An MCP client (Claude Desktop, Claude Code, Codex CLI, Gemini CLI, etc.)
Installation
1. Run the installer
2. Select your client
Choose your MCP client from the prompts:- Claude Desktop
- Claude Code
- Codex CLI
- Gemini CLI
- Other
3. Restart your client
Close and reopen your MCP client to load Agentic Wallet MCP.First-time setup
1. Sign into your wallet
Open your MCP client and ask: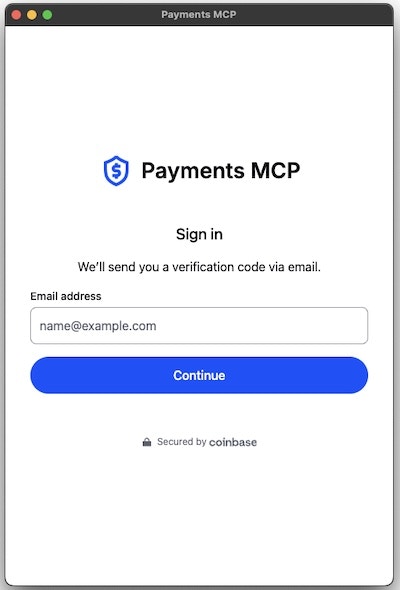
2. Authenticate
- New users: Enter your email → verify your email → wallet created
- Returning users: Enter your email → verify your email → you’re in
3. Add funds
There are 2 ways to add funds in the Wallet UI:- Click Fund
- Follow Coinbase Onramp flow to add USDC
- Return to your agent
- Click Receive
- Scan your QR code or copy your wallet address
- Send USDC to your wallet
- Return to your agent
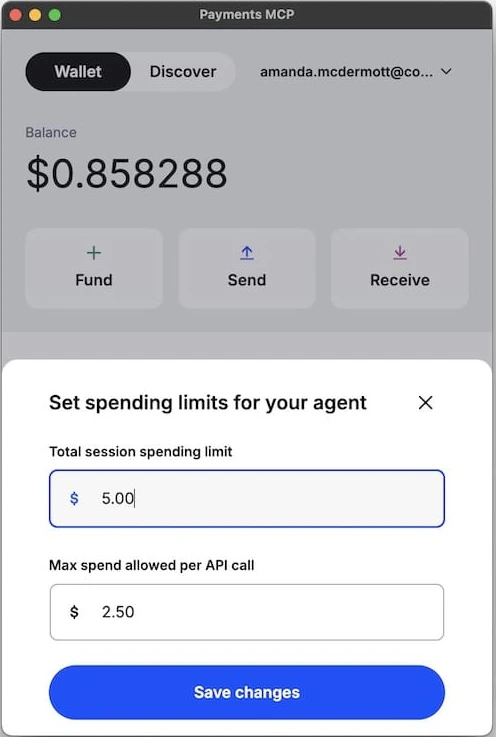
4. Set spending limits (recommended)
Control what your agent can spend:- In the wallet UI, click the spending limit tracker
- Set two limits:
- Max per call: e.g., $0.05
- Max per session: e.g., $5.00
- Save
Try it out
Check your balance
Discover services
Option 1: Ask your agent directlynpx awal x402 bazaar search with semantic queries and optional filters:
- Browse all available x402 services
- Filter by category, price, or quality
- Click any service to copy a ready-to-use prompt for your agent
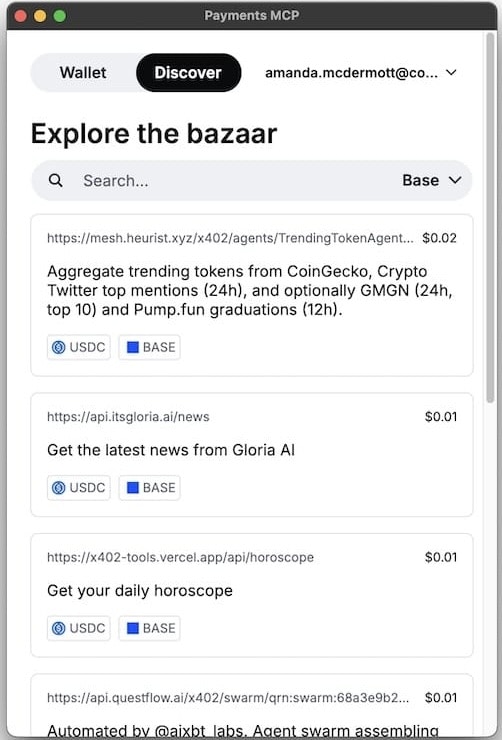
Example: Multi-step autonomous workflow
- Agent discovers TrendingTokenAgent and Gloria News services
- Gets trending tokens from Twitter
- Fetches news about top tokens
- Analyzes and recommends
Commands
Troubleshooting
See the FAQ for common issues and solutions.Next steps
- MCP Tools: What your agent can do
- Examples: More use cases
- x402 Protocol: How payments work
- Discord: Get help